
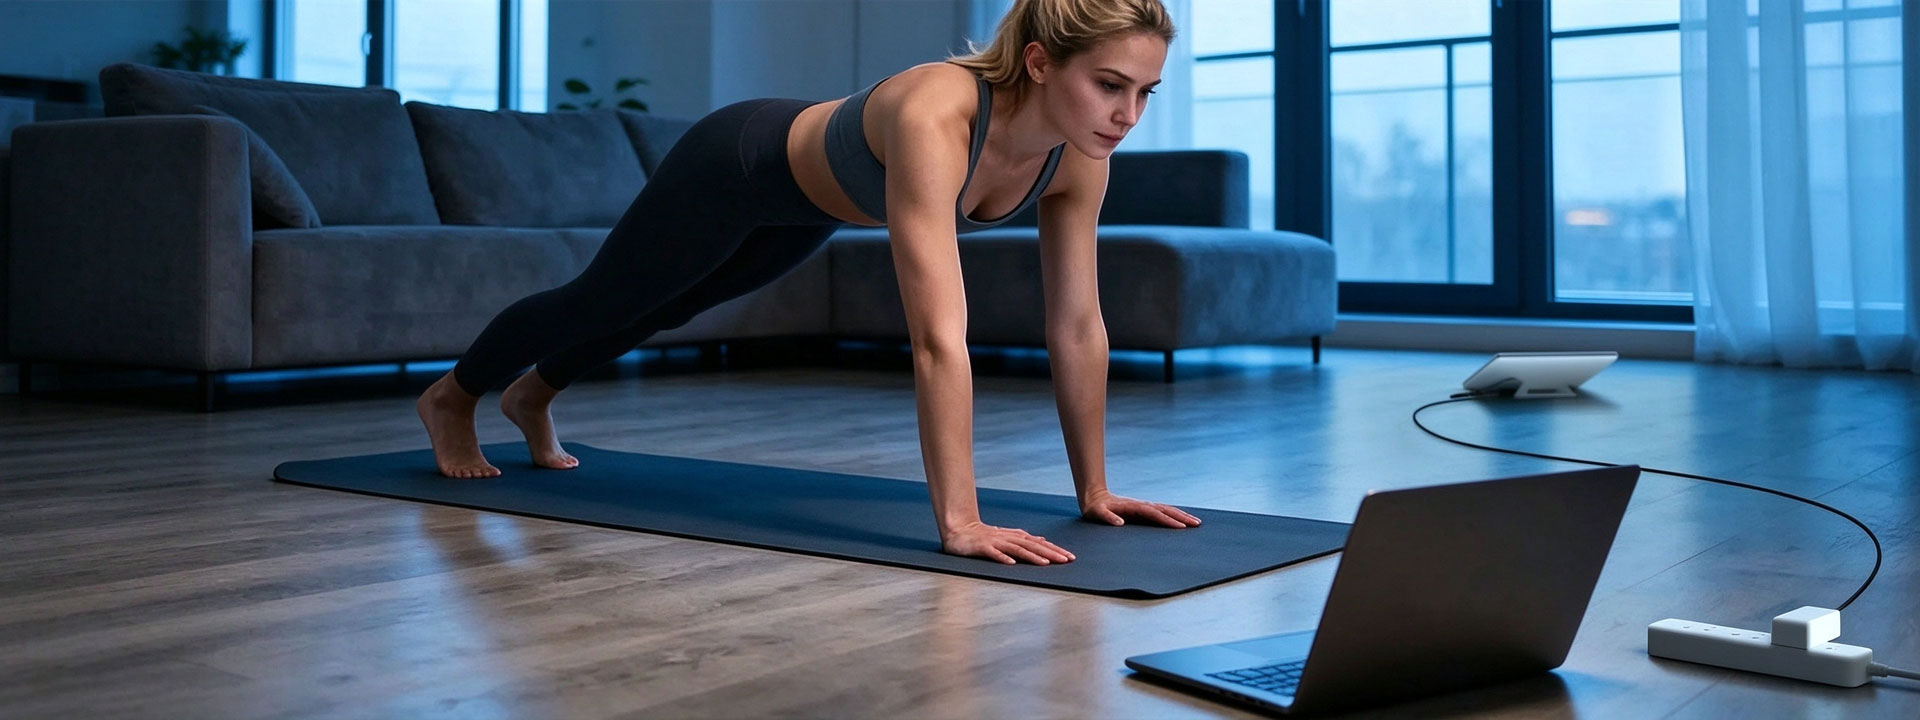
A clean Starlink Mini vehicle install takes 15 minutes and three decisions: where it goes, how it attaches, and how you route the cable. This step-by-step covers the three PLZTECH vehicle mounts and the common pitfalls.
1. Choose your mount type
- Magnetic roof mount — tool-free, strongest hold (4×66 mm magnets, 17 kg each). Best for daily drivers and RVs.
- Suction-cup roof mount — no drilling, 360° arm. Best for rentals/temporary.
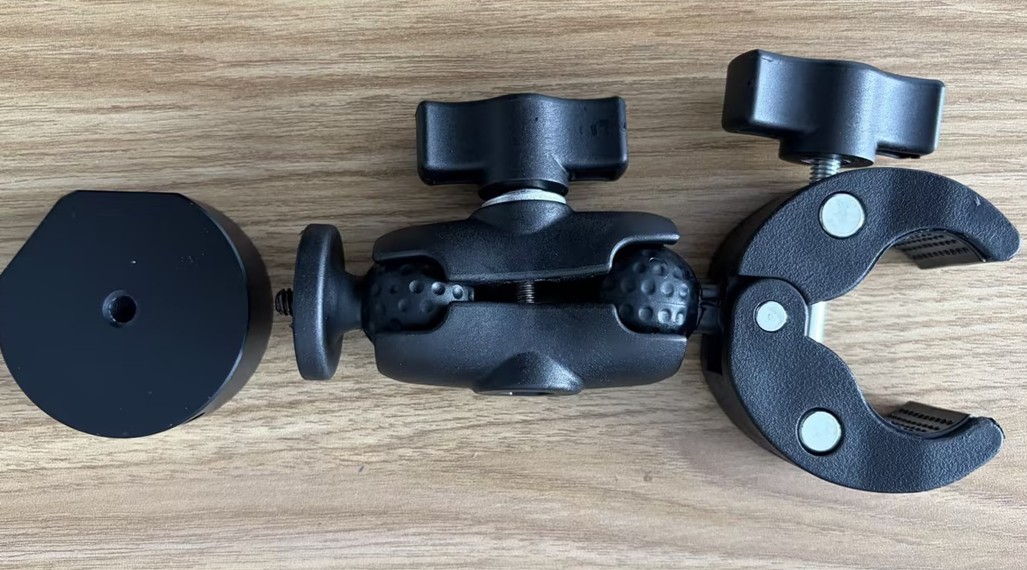
- Pipe / rail clamp mount — clamps 20–60 mm rails or a roof rack. Best for vehicles with existing rails.
- Dashboard / windshield mount — when the roof is blocked (metal cap, pop-top).
2. Placement (do this first)
The dish needs an unobstructed sky view. Avoid:
- AC units, roof vents, light bars
- Metal awnings and ladder racks directly above
- The exact center if you have a roof rack crossbar shadowing it
A spot 30–60 cm from the roof edge with clear sky is ideal.
3. Install — magnetic (example)
- Clean the roof area with isopropyl alcohol; dry fully.
- Seat the magnetic base; you'll feel it grab. Tug to confirm.
- Attach the Mini to the mount foot (quarter-turn or clamp per SKU).
- Route the 2-in-1 combined cable to the cabin through a door jamb or existing gland.
4. Install — suction cup
- Clean both surfaces.
- Place the cup, pump the plunger until the indicator shows green.
- Re-check pressure after the first hour and daily on long trips.
- Never exceed ~80 km/h sustained.
5. Install — pipe / rail clamp
- Loosen the clamp; fit around the rail (20–60 mm).
- Tighten with the supplied tool; confirm no spin.
- Aim the dish skyward; lock the adjustment.
6. Cable routing & sealing
- One penetration only: use the 2-in-1 combined cable.
- For a drilled pass-through, use an Ethernet bulkhead / gland and seal with marine caulk.
- Avoid sharp roof edges that chafe the jacket.
7. Power
Connect to the 12V→30V step-up (cigarette lighter) or the 3-in-1 100W car charger. For house batteries, use the DC→Anderson cable.
8. Test
Park in clear sky, boot the dish, confirm "connected" in the Starlink app, then do a slow speed test. Re-check the mount after the first 50 km.
FAQ
Q: Magnetic vs. suction for highway?
Magnetic — suction is for temporary/low-speed only.
Q: Can I drill a permanent mount?
Yes, use the drill-mount SKU and seal the holes; many prefer the clamp to avoid holes.
Q: Will it survive a car wash?
Remove the magnetic/suction unit first; permanent clamps are fine.